Part 1: Validate your IP Address on the 'My Account' panel
Part 2: Change your Amazon Fire TV settings
Before you start: Please write down your current DNS addresses before you change your DNS configurations. You should take note of these addresses in case that you need to get back to your original settings. If your original configuration were set to “Automatic”, just change your DNS settings back to “Automatic” in order to get back to your original settings.
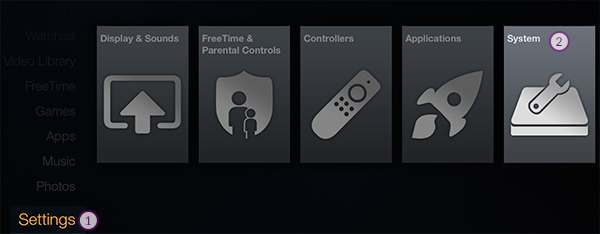
1. Start the device, go to the Settings menu and press on System
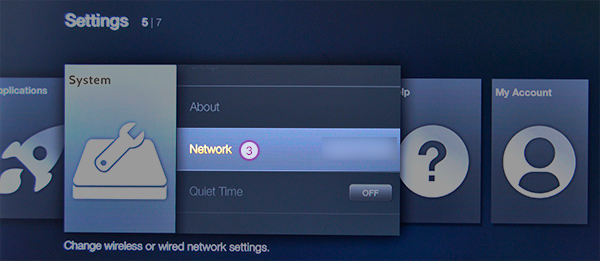
2. Press on Network
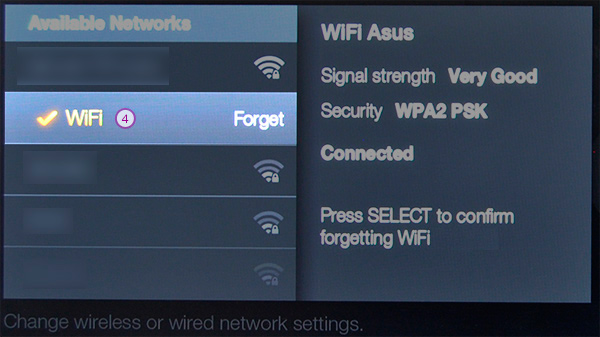
3. Choose your active WiFi network, press the button with the 3 lines on your remote, and press on Delete
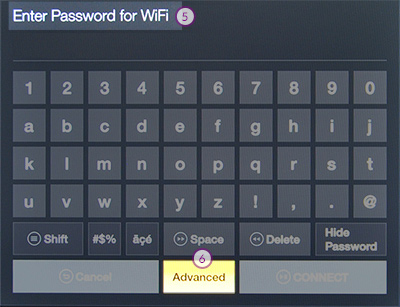
4. Choose your WiFi network again, enter password and press on ADVANCED
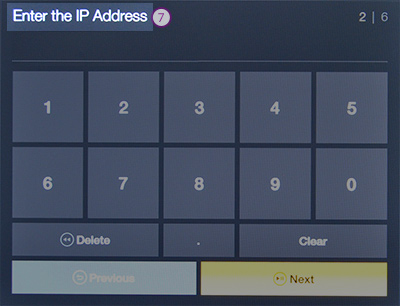
5. Enter the IP address -
You'll need to find your router's IP address (please note that it can be done from ANY device that is connected to the router, and not necessarily from the Amazon Fire TV), and enter an address that is associated with it. For example, if your router IP address is 192.168.29.1 then you can set an address such as 192.168.29.77
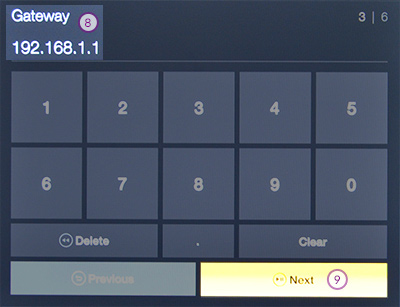
6. Gateway - Enter your router IP address as is.
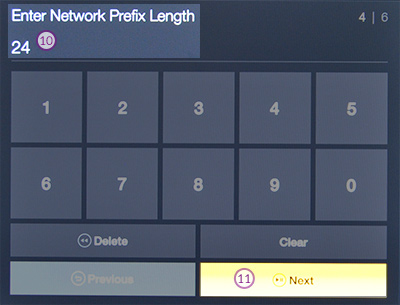
7. Enter Network Prefix Length - Set to 24.
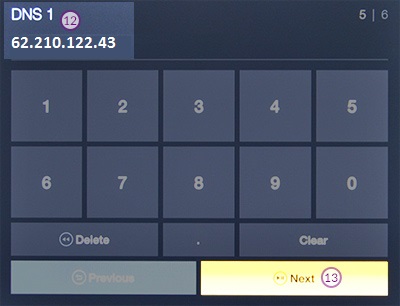
8. DNS 1 - Please set to 62.210.122.43.
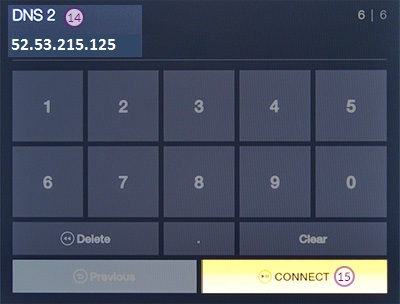
9. DNS 2 - Please set to 157.55.83.218.
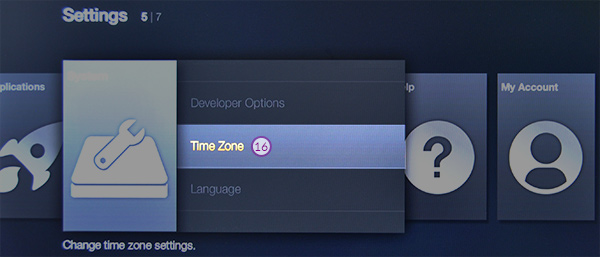
10. DNS should be set now. We also recommend that you change your timezone to U.S. - Go to the Settings menu, choose 'Time Zone' and then select a time zone within the U.S.